Game Development: Tetris in Angular

Today, I’m taking you along for a journey in game development with the classic game of Tetris. We are going to touch upon concepts like graphics, game loops, and collision detection. In the end, we will have a fully functioning game with points and levels.
I hope you come back if I let you try out the game: Play the game!
The code for the finished game is on GitHub. Please send me a message if you find something that does not work. Future developments of the game will go into the master branch while the blog branch will stay as is.
Tetris
Tetris was created in 1984, by Alexey Pajitnov. The game requires players to rotate and move falling Tetris pieces. Players clear lines by completing horizontal rows of blocks without empty cells. But, if the pieces reach the top, the game is over!
Tetris is a great game to begin our journey in game development. It contains essential elements of games and can be done without too much effort. The tetrominos are a collection of four blocks, which makes graphics a bit easier than most games.
For more in-detail knowledge about using the canvas, I wrote another article as a primer to this one. It goes through the fundamentals of how to animate an object:
Setup
Let’s start by installing the Angular CLI globally:
npm install -g @angular/cli
With the CLI installed, we can create a new project with ng new:
ng new ng-tetris — minimal — defaults
The playing board consists of 10 columns and 20 rows. We are using these values often to loop through the board so we can add them to constants.ts together with the size of the blocks:
export const COLS = 10;
export const ROWS = 20;
export const BLOCK_SIZE = 30;
We need something to draw on. I prefer using a canvas, an HTML element which can be used to draw graphics.
We first need to introduce a <canvas> element, which we can do in the component's template. We'll also attach a reference variable to the element so that can refer to it from the component class. This is our complete template waiting for some logic to make the magic happen:
<div class="grid">
<canvas #board class="game-board"></canvas>
<div class="right-column">
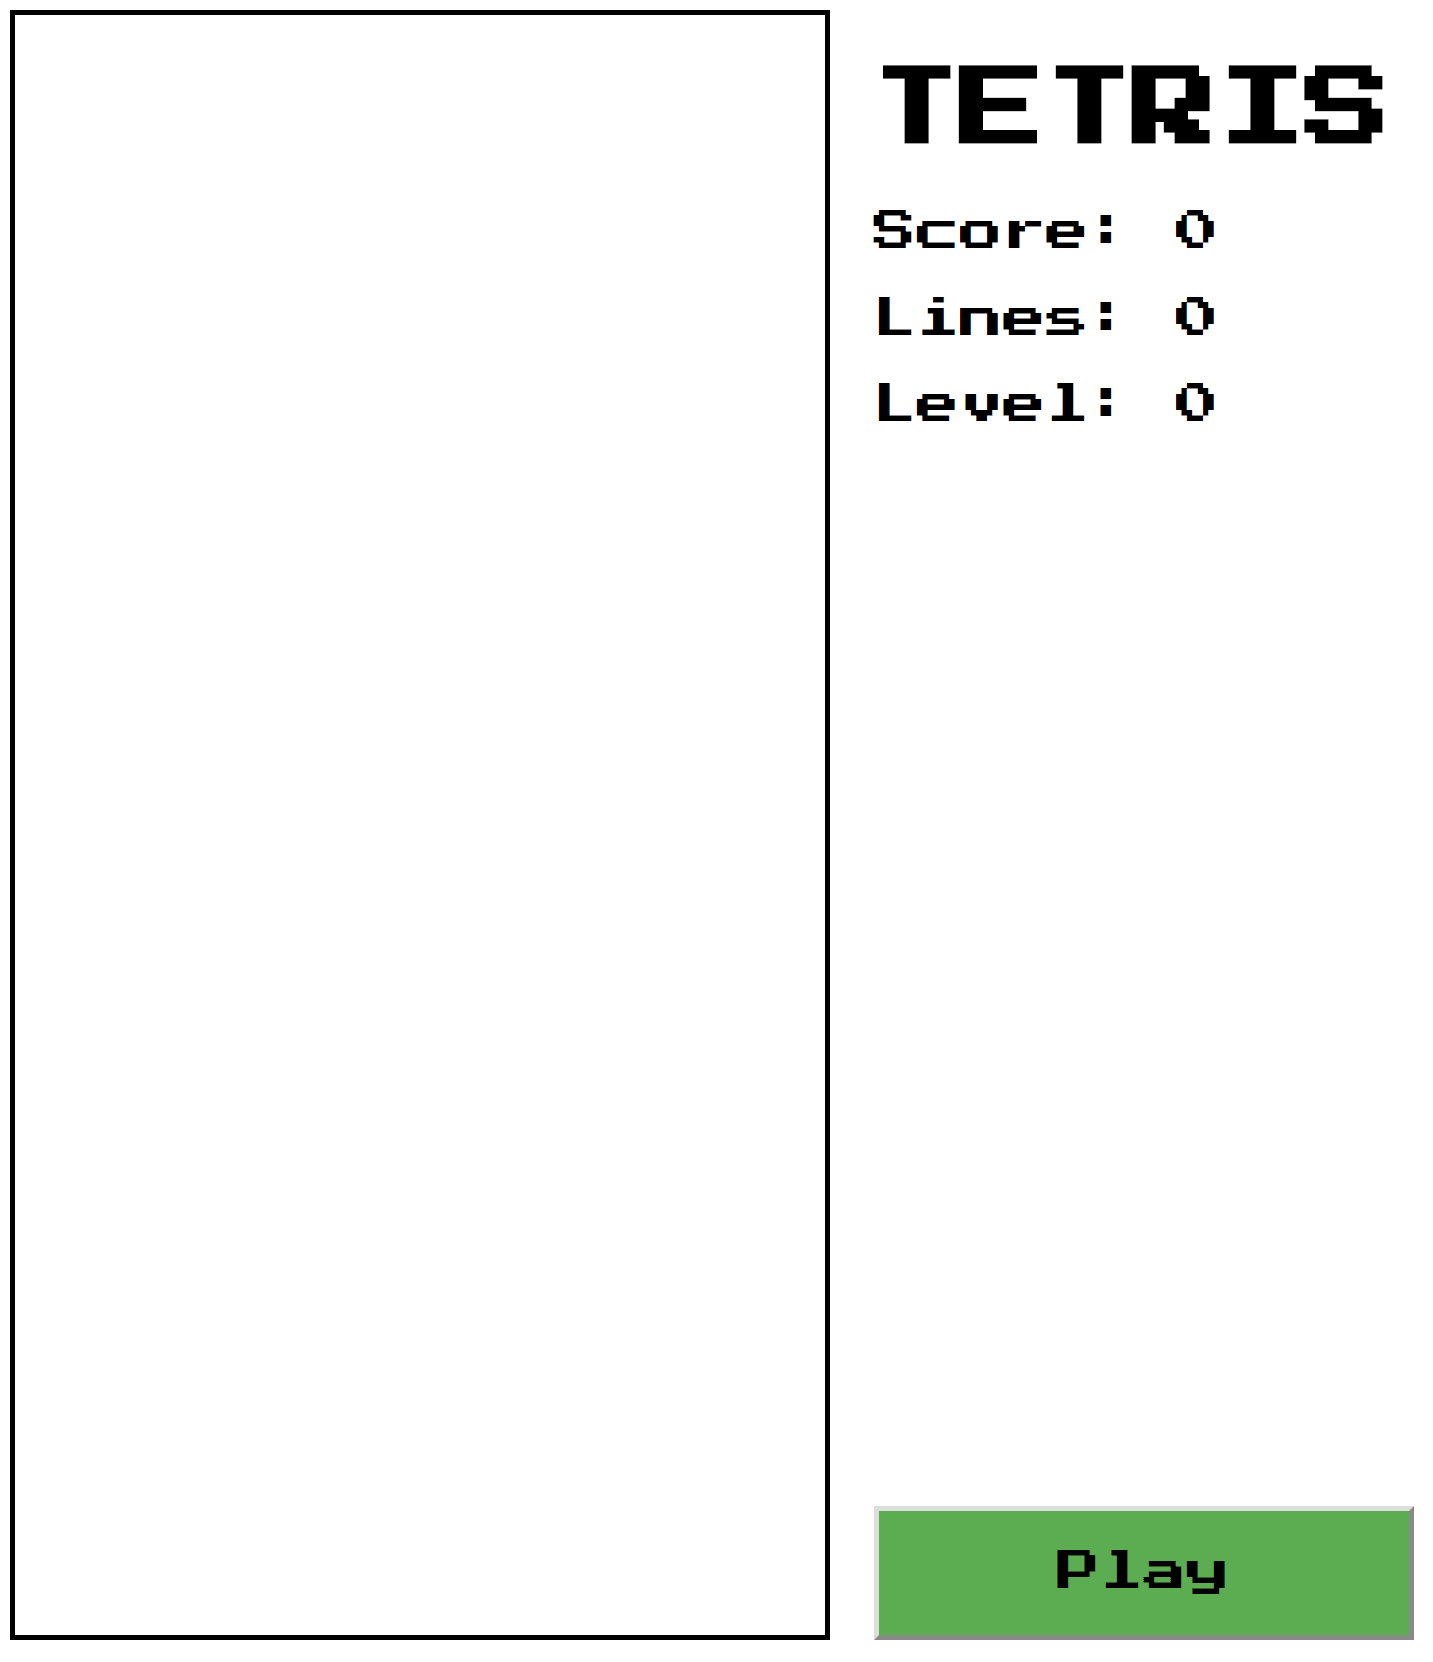
<div>
<h1>TETRIS</h1>
<p>Score: {{ points }}</p>
<p>Lines: {{ lines }}</p>
<p>Level: {{ level }}</p>
</div>
<button (click)="play()" class="play-button">Play</button>
</div>
</div>
Here is the board.component.ts starter code:
import { Component, ViewChild, ElementRef, OnInit } from '@angular/core';
import { COLS, BLOCK_SIZE, ROWS } from './constants';

@Component({
  selector: 'game-board',
  templateUrl: 'board.component.html'
})
export class BoardComponent implements OnInit {
  // Get reference to the canvas.
  @ViewChild('board', { static: true })
  canvas: ElementRef<HTMLCanvasElement>;

  ctx: CanvasRenderingContext2D;
  points: number;
  lines: number;
  level: number;

  ngOnInit() {
    this.initBoard();
  }

  initBoard() {
    // Get the 2D context that we draw on.
    this.ctx = this.canvas.nativeElement.getContext('2d');

    // Calculate size of canvas from constants.
    this.ctx.canvas.width = COLS * BLOCK_SIZE;
    this.ctx.canvas.height = ROWS * BLOCK_SIZE;
  }

  play() {}
}
Change the template in app.component.ts to be the new board component:
<game-board></game-board>
Styling
It’s nice to have a bit of an 80’s feel to our game. Press Start 2P is a bitmap font based on the font design from 1980s Namco arcade games. We can add it in two steps:
<!-- index.html -->
<link *href*=”https://fonts.googleapis.com/css?family=Press+Start+2P" *rel*=”stylesheet” />

/* styles.css */
* {
  font-family: 'Press Start 2P', cursive;
}
With this, we have our game container styled and ready, waiting for some code.
The Board
The board in Tetris consists of cells, which are either occupied or not. My first thought was to represent a cell with boolean values. But, we can do better by using numbers. We can represent an empty cell with 0, and the colors with numbers 1–7.
The next concept is representing the rows and columns of the game board. We can use an array of numbers to represent a row. And the board is an array of rows. In other words, a two dimensional (2D) array, or matrix.
Let’s create a function that returns an empty board with all cells set to zero. The fill() method comes in handy here:
getEmptyBoard(): number[][] {
  return Array.from({ length: ROWS }, () => Array(COLS).fill(0));
}
We can call this function when we press play:
play() {
  this.board = this.boardService.getEmptyBoard();
  console.table(this.board);
}
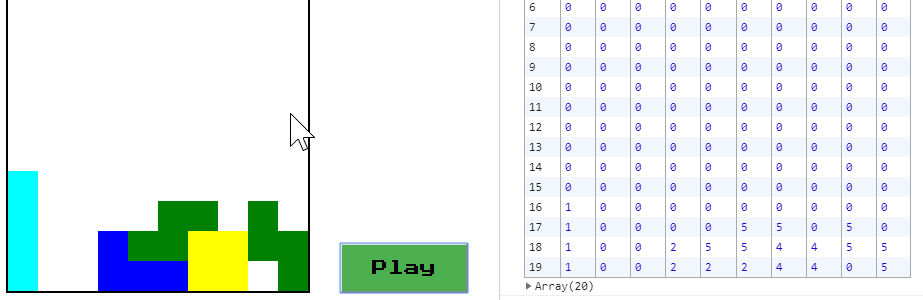
By using console.table we see the representation of the board in numbers:
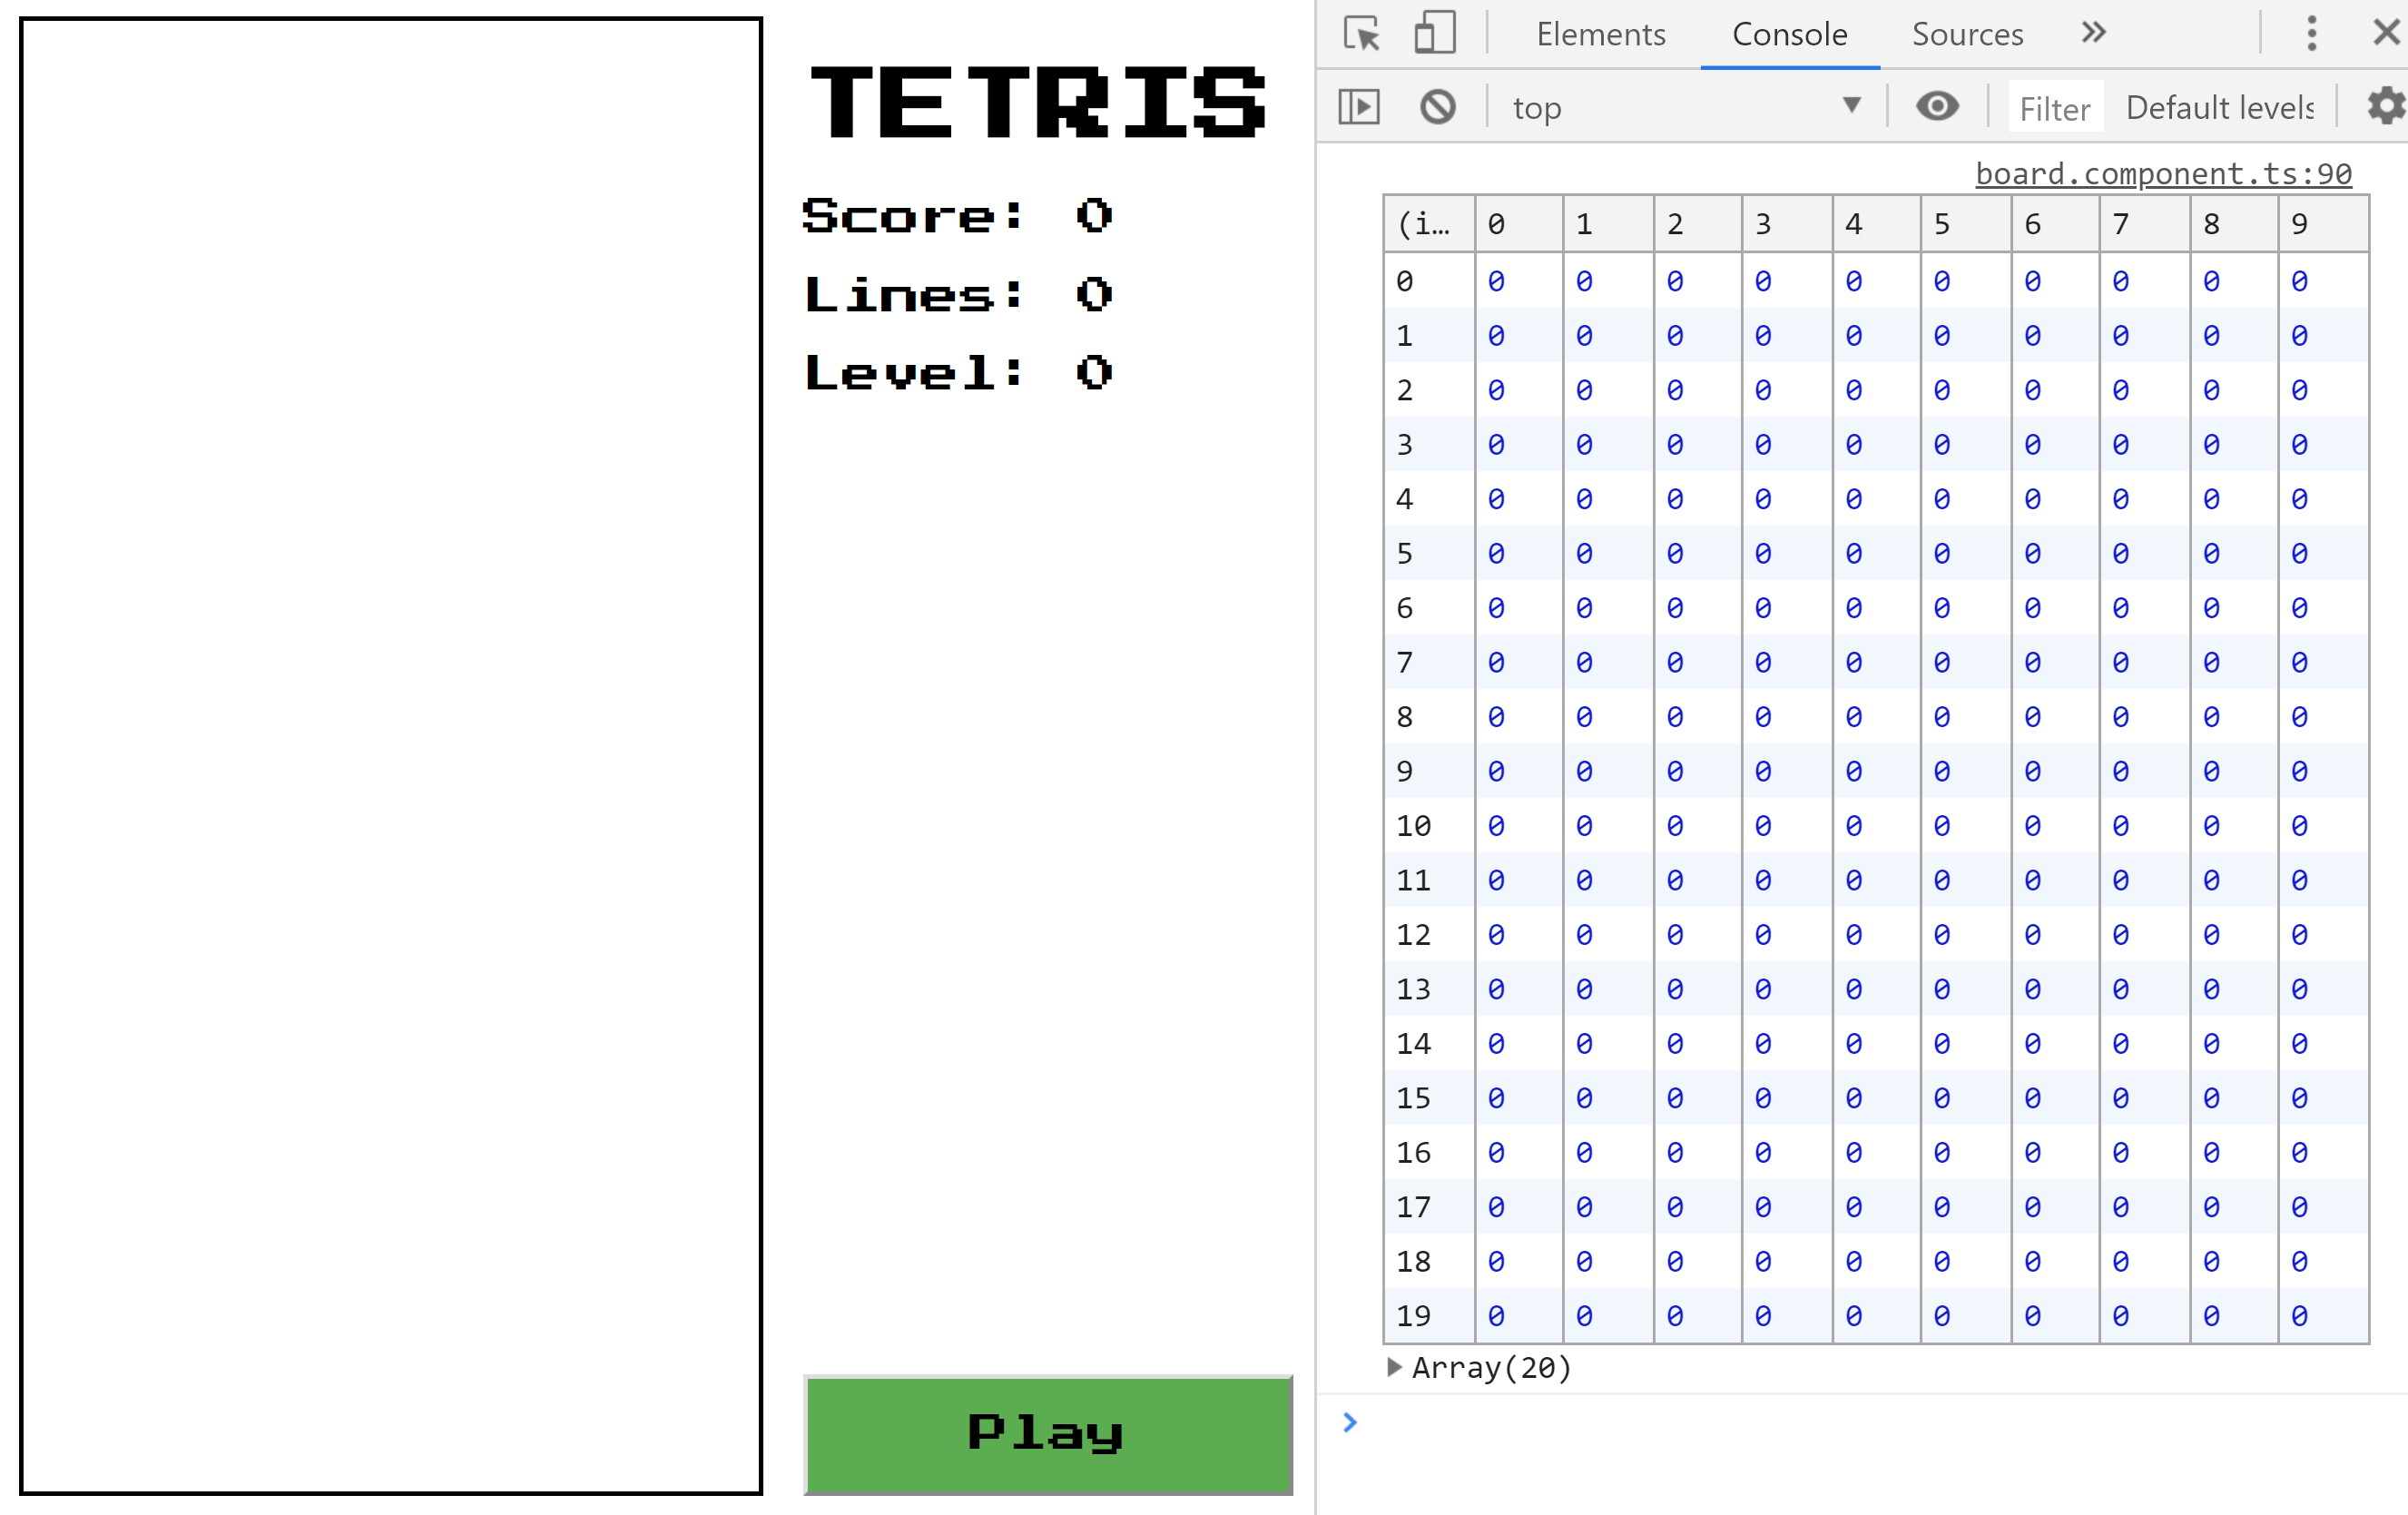
The X and Y coordinates represent the cells of the board. Now that we have the board let’s take a look at the moving parts.
Tetrominos
A piece in Tetris is a shape consisting of four blocks that move as a unit. They are often called tetrominos and come in seven different patterns and colors. The names I, J, L, O, S, T, and Z are from the resemblance in their shape.

We represent the J tetromino as a matrix where the number two represents the colored cells. We add the row of zeros to get a center to rotate around:
[2, 0, 0],
[2, 2, 2],
[0, 0, 0];
The tetrominos spawn horizontally with J, L and T spawning flat-side first.
Let’s specify the Tetris piece in our code with an interface:
export interface IPiece {
  x: number;
  y: number;
  color: string;
  shape: number[][];
}
We want the Piece class to know its position on the board, what color it has, and its shape. So to be able to draw itself on the board, it needs a reference to the canvas context.
For starters, we can hard-code the values of our piece:
export class Piece implements IPiece {
  x: number;
  y: number;
  color: string;
  shape: number[][];

  constructor(private ctx: CanvasRenderingContext2D) {
    this.spawn();
  }

  spawn() {
    this.color = 'blue';
    this.shape = [[2, 0, 0], [2, 2, 2], [0, 0, 0]];

    // Position where the shape spawns.
    this.x = 3;
    this.y = 0;
  }
}
To draw the tetromino on the board, we loop through all the cells of the shape. If the value in the cell is greater than zero, then we color that block:
draw() {
  this.ctx.fillStyle = this.color;
  this.shape.forEach((row, y) => {
    row.forEach((value, x) => {
      if (value > 0) {
        // this.x & this.y = position on the board
        // x & y position are the positions of the shape
        this.ctx.fillRect(this.x + x, this.y + y, 1, 1);
      }
    });
  });
}
You might have noticed that I set the sides of the block to one. That is tiny, so we need to scale it to the block size:
this.ctx.scale(BLOCK_SIZE, BLOCK_SIZE);
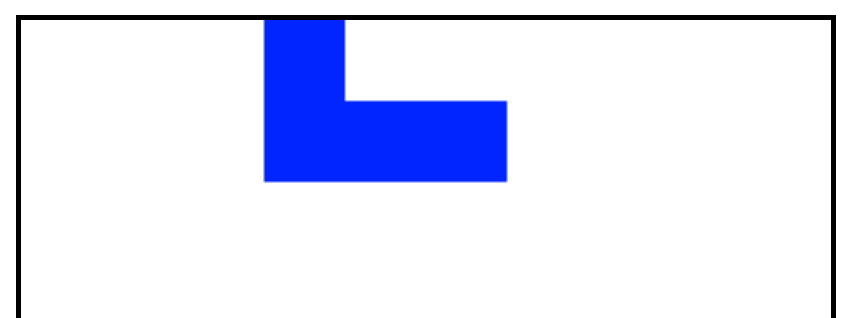
The board should keep track of the tetromino on the board so we can create and paint it when we press the play button:
play() {
  this.board = this.boardService.getEmptyBoard();
  this.piece = new Piece(this.ctx);
  this.piece.draw();
}
The blue J tetromino appears!
Next, let’s see about making things happen through our keyboard.
Keyboard input
Now, let’s see how we move pieces on the board. The move function changes the current pieces x or y variable to change its position on the board.
move(p: IPiece) {
  this.x = p.x;
  this.y = p.y;
}
Next, we map the keys to the key codes:
export class KEY {
  static readonly LEFT = 37;
  static readonly RIGHT = 39;
  static readonly DOWN = 40;
}
To match the key events to actions we can use object literal lookups. We need the brackets to get computed property names so that we can use our constants. This is a simplified example of how it works:
const X = 'x';
const a = { [X]: 5 };
console.log(a.x); // 5
We want to send in the current tetromino and return a copy of it together with the change in coordinates. For this, we can use the spread operator to get a shallow copy, and then change the coordinates to our desired position.
In JavaScript, we can use shallow copying to copy primitive data types like numbers and strings. In our case the coordinates are numbers. ES6 offers two shallow copy mechanisms: Object.assign() and the spread operator.
In other words, a lot is going on in this code snippet:
moves = {
  [KEY.LEFT]:  (p: IPiece): IPiece => ({ ...p, x: p.x - 1 }),
  [KEY.RIGHT]: (p: IPiece): IPiece => ({ ...p, x: p.x + 1 }),
  [KEY.UP]:    (p: IPiece): IPiece => ({ ...p, y: p.y + 1 })
};
Which we can use like this to get the new state without mutating the original piece. It’s important because we don’t always want to move to a new position.
const p = *this*.moves[event.key](*this*.piece);
To listen for keyboard events, we can use the @HostListener decorator within our board component:
@HostListener('window:keydown', ['$event'])
keyEvent(event: KeyboardEvent) {
  if (this.moves[event.keyCode]) {
    // If the keyCode exists in our moves stop the event from bubbling.
    event.preventDefault();
    // Get the next state of the piece.
    const p = this.moves[event.key](this.piece);
    // Move the piece
    this.piece.move(p);
    // Clear the old position before drawing
    this.ctx.clearRect(0, 0, this.ctx.canvas.width, this.ctx.canvas.height);
    // Draw the new position.
    this.piece.draw();
  }
}
Now we are listening on the keyboard events, and if we press left, right, or down arrows, then we can see the piece moving.
We have a movement! However, ghost pieces going through walls are not what we want. 👻
Collision detection
Tetris would not be a particularly exciting game if all blocks could pass through each other, or if the walls and floor did not stop them. So instead of moving the tetromino, we’ll check for potential collisions first, and then only move the tetromino if it’s safe. We have a few different collisions to consider.
We have a collision when the tetromino:
Hits the floor.
Moves left or right into a wall.
Hits a block on the board.
Rotates, and the new rotation hits a wall or block.
We already defined the potential new position for the shape. Now we can add a check if this position is valid before we move to it. To check for collisions, we loop through all the spaces in the grid that the tetromino would take up in its potential new position.
The array method best suited for this is every(). With it, we can check whether all elements in the array pass the tests we provide. We calculate the coordinates of every block of the piece and check that it’s a valid position:
valid(p: IPiece): boolean {
  return p.shape.every((row, dy) => {
    return row.every((value, dx) => {
      let x = p.x + dx;
      let y = p.y + dy;
      return (
        this.isEmpty(value) ||
       (this.insideWalls(x) &&
        this.aboveFloor(y)
      );
    });
  });
}
By using this method before we move, we make sure that we don’t move anywhere we shouldn’t:
if (this.service.valid(p)) {
  this.piece.move(p);
}
Let’s try going outside the grid again.
No more ghosting! We can’t leave the playing area anymore.
Now that the floor stops the tetromino, we can add another move called the hard drop. Pressing space drops the tetromino until it collides with something. And remember we need to add the new key mapping and move:
export class KEY {
  static readonly SPACE = 32;
  // ...
}

moves = {
  [KEY.SPACE]: (p: IPiece): IPiece => ({ ...p, y: p.y + 1 })
  // ...
};

if (event.keyCode === KEY.SPACE) {
  while (this.service.valid(p, this.board)) {
    this.piece.move(p);
    p = this.moves[KEY.DOWN](this.piece);
  }
}
What’s next?
Rotation
Now we can move around, but it would not be any fun if we can’t rotate the piece. We need to rotate the tetrominos around their center.

It has been a while since I studied linear algebra in school. But, to rotate clockwise goes something like this:
A rotation by 90 degrees can be accomplished by two reflections at a 45-degree angle so you can take the transpose of the matrix and then multiply it by the permutation matrix that reverses the order of the columns.

And in JavaScript:
// Transpose matrix
for (let y = 0; y < this.shape.length; ++y) {
  for (let x = 0; x < y; ++x) {
    [this.shape[x][y], this.shape[y][x]] =
    [this.shape[y][x], this.shape[x][y]];
  }
}

// Reverse the order of the columns.
this.shape.forEach(row => row.reverse());
We can add a function that rotates the shape. Earlier we used the spread operator to clone the coordinates. In this case, we are working with a multiple level array but the spread operator only copies one level deep. The rest is copied by reference.
I’m instead using JSON.parse and JSON.stringify. The **stringify() method converts the matrix to a JSON string. The `parse()`** method parses the JSON string, constructing our matrix back again to a clone.
rotate(p: IPiece): IPiece {
  // Cloning with JSON
  let clone: IPiece = JSON.parse(JSON.stringify(p));

  // Do algorithm

  return clone;
}
Then we add a new state for ArrowUp in board.component.ts.
[KEY.UP]: (p: IPiece): IPiece => this.service.rotate(p)
Now we rotate!

Randomize Tetromino
To be able to get different kinds of pieces, we need to add a bit of randomization to our code.
Following the Super Rotation System, we can take the first position of the pieces and add them to our constants together with the colors:
export const COLORS = [
  'cyan',
  'blue',
  'orange',
  'yellow',
  'green',
  'purple',
  'red'
];
export const SHAPES = [
  [[0, 0, 0, 0], [1, 1, 1, 1], [0, 0, 0, 0], [0, 0, 0, 0]],
  [[2, 0, 0], [2, 2, 2], [0, 0, 0]]
  // And so on
];
We need to randomize the index of one of these to pick one piece. To get a random number, we create a function that uses the length of the array.
randomizeTetrominoType(noOfTypes: number): number {
  return Math.floor(Math.random() * noOfTypes);
}
With this method we can get a random tetromino type when we spawn and then set the color and shape from it:
const typeId = this.randomizeTetrominoType(COLORS.length);
this.shape = SHAPES[typeId];
this.color = COLORS[typeId];
If we press play the page shows pieces with different shapes and colors.
Game Loop
Almost all games have one main function that keeps the game running even when the user isn’t doing anything. This cycle of running the same core function over and over again is called the game loop. In our game, we need a game loop that moves the tetrominos down the screen.
RequestAnimationFrame
To create our game loop, we can use requestAnimationFrame. It tells the browser that we want to animate, and it should call a function to update an animation before the next repaint. In other words, we tell the browser: “Next time you paint on the screen, also run this function because I want to paint something too.”
“Animation is not the art of drawings that move but the art of movements that are drawn.” — Norman McLaren
The way to animate with window.requestAnimationFrame() is to create a function that paints a frame and then re-schedules itself. We need to bind the call to this, or it has the window object as its context. Since it doesn't contain the animate function, we get an error.
animate() {
  this.piece.draw();
  requestAnimationFrame(this.animate.bind(this));
}
We can remove all our previous calls to draw() and instead call animate() from the play() function to start the animation. If we try our game, it should still run like before.
Timer
Next, we need a timer. Every time frame, we drop the tetromino. There is an example on the MDN page that we can modify to our needs.
We start by creating an object with the info we need:
time = { start: 0, elapsed: 0, level: 1000 };
In the game loop, we update our game state based on the time interval and then draw the result:
animate(now = 0) {
  // Update elapsed time.
  this.time.elapsed = now - this.time.start;
  // If elapsed time has passed time for current level
  if (this.time.elapsed > this.time.level) {
    // Reset start time
    this.time.start = now;
    this.drop();
  }
  this.draw();
  requestAnimationFrame(this.animate.bind(this));
}
We have animation!
Next, let’s look at what happens when we reach the bottom.
Freeze
When we can’t move down anymore, we should freeze the piece and spawn a new one. Let’s start by defining freeze(). This function merges the tetromino blocks to the board:
We can’t see anything yet, but by logging the representation of the board, we can see that the shape is on the board.

Let’s add a function that draws the board:
freeze() {
  this.piece.shape.forEach((row, y) => {
    row.forEach((value, x) => {
      if (value > 0) {
        this.board[y + this.piece.y][x + this.piece.x] = value;
      }
    });
  });
}
Now the draw function should look like this:
draw() {
  this.ctx.clearRect(0, 0, this.ctx.canvas.width, this.ctx.canvas.height);
  this.piece.draw();
  this.drawBoard();
}
If we run the game, we can see that the pieces are showing up.
Now that we are freezing the pieces, we need to add new collision detection. This time we have to make sure that we don’t collide with frozen tetrominos on the board. We can do this by checking that the cell is zero. Add this to the valid method and send in the board as an argument:
board[p.y + y][p.x + x] === 0;
Now that we are adding pieces to the board it will quickly get crowded. We should do something about that.
Line clear
To last longer, we need to assemble the tetrominos in rows of blocks that span the entire row, resulting in a line clear. When you do so, the row disappears, causing the ones above it to settle.

Detecting formed lines is as easy as checking if it has any zeros:
this.board.forEach((row, y) => {
  // If every value is greater than 0.
  if (row.every(value => value > 0)) {
    // Remove the row.
    this.board.splice(y, 1);
    // Add a zero filled at the top.
    this.board.unshift(Array(COLS).fill(0));
  }
});
We can add a call to this clearLines() function after the freeze() call. We can try playing and hopefully see the rows getting cleared.
Points
To get a bit more excitement, we need a points system. From the Tetris guideline we get these values:
export class Points {
  static readonly SINGLE = 100;
  static readonly DOUBLE = 300;
  static readonly TRIPLE = 500;
  static readonly TETRIS = 800;
  static readonly SOFT_DROP = 1;
  static readonly HARD_DROP = 2;
}
Let’s add the points for soft and hard drops first in our event handler:
@HostListener('window:keydown', ['$event'])
  keyEvent(event: KeyboardEvent) {
    if (this.moves[event.key]) {
      event.preventDefault();
      let p: ITetromino = this.moves[event.key](this.piece);
      if (event.key === ' ') {
        while (this.service.valid(p, this.board)) {
          this.points += Points.HARD_DROP; // Points for every drop
          this.piece.move(p);
          p = this.moves[' '](this.piece);
        }
      } else if (this.service.valid(p, this.board)) {
        this.piece.move(p);
        if (event.key === 'ArrowDown') {
          this.points += Points.SOFT_DROP; // Points if we move down
        }
      }
    }
  }
Now for the line clear points. Depending on the number of lines, we get the defined points:
getLineClearPoints(lines: number): number {
  return lines === 1 ? Points.SINGLE :
         lines === 2 ? Points.DOUBLE :
         lines === 3 ? Points.TRIPLE :
         lines === 4 ? Points.TETRIS : 0;
}
For this to work, we need to add a bit of logic to count how many lines we clear:
clearLines() {
  let lines = 0; // Set variable
  this.board.forEach((row, y) => {
    if (row.every(value => value !== 0)) {
      lines++; // Increase for cleared line
      this.board.splice(y, 1);
      this.board.unshift(Array(COLS).fill(0));
    }
  });
  if (lines > 0) {
    // Add points if we cleared some lines
    this.points += this.getLineClearPoints(lines);
  }
}
If we try playing now, we can see that we are increasing our score.
Levels
When we get better at Tetris, the speed we start on will get too easy. And too easy means boring. So we need to increase the level of difficulty. We do this by decreasing the interval speed in our game loop.
export const LINES_PER_LEVEL = 10;

export class Level {
  static readonly 0 = 800;
  static readonly 1 = 720;
  static readonly 2 = 630;
  static readonly 3 = 550;
  // ...
}
We can also show the player which level they are currently on. The logic of keeping track and showing levels and lines is the same as for points. We initialize a value for them, and when we start a new game, we have to reset them.
We can move the initialization of the game to a function and call it in ngOnInit and play:
resetGame() {
  this.points = 0;
  this.lines = 0;
  this.level = 0;
  this.board = this.getEmptyBoard();
}
Depending on the level we get more points for line clears. We multiply the points with the level we are on. And since we start on level 0 add one to it:
(level + 1) * lineClearPoints;
We increase the level every time we reach the lines we have per level. We also need to add the time we have on this level:
if (lines > 0) {
  // Calculate points from cleared lines and level.

  this.points += this.service.getLinesClearedPoints(lines, this.level);
  this.lines += lines;

  // If we have reached the lines per level
  if (this.lines >= LINES_PER_LEVEL) {
    // Goto next level
    this.level++;

    // Remove lines so we start working for the next level
    this.lines -= LINES_PER_LEVEL;

    // Increase speed of game.
    this.time.level = Level[this.level];
  }
}
Now if we play and clear 10 lines we should see the level increase and our points score double. And of course the game starts moving a bit faster.
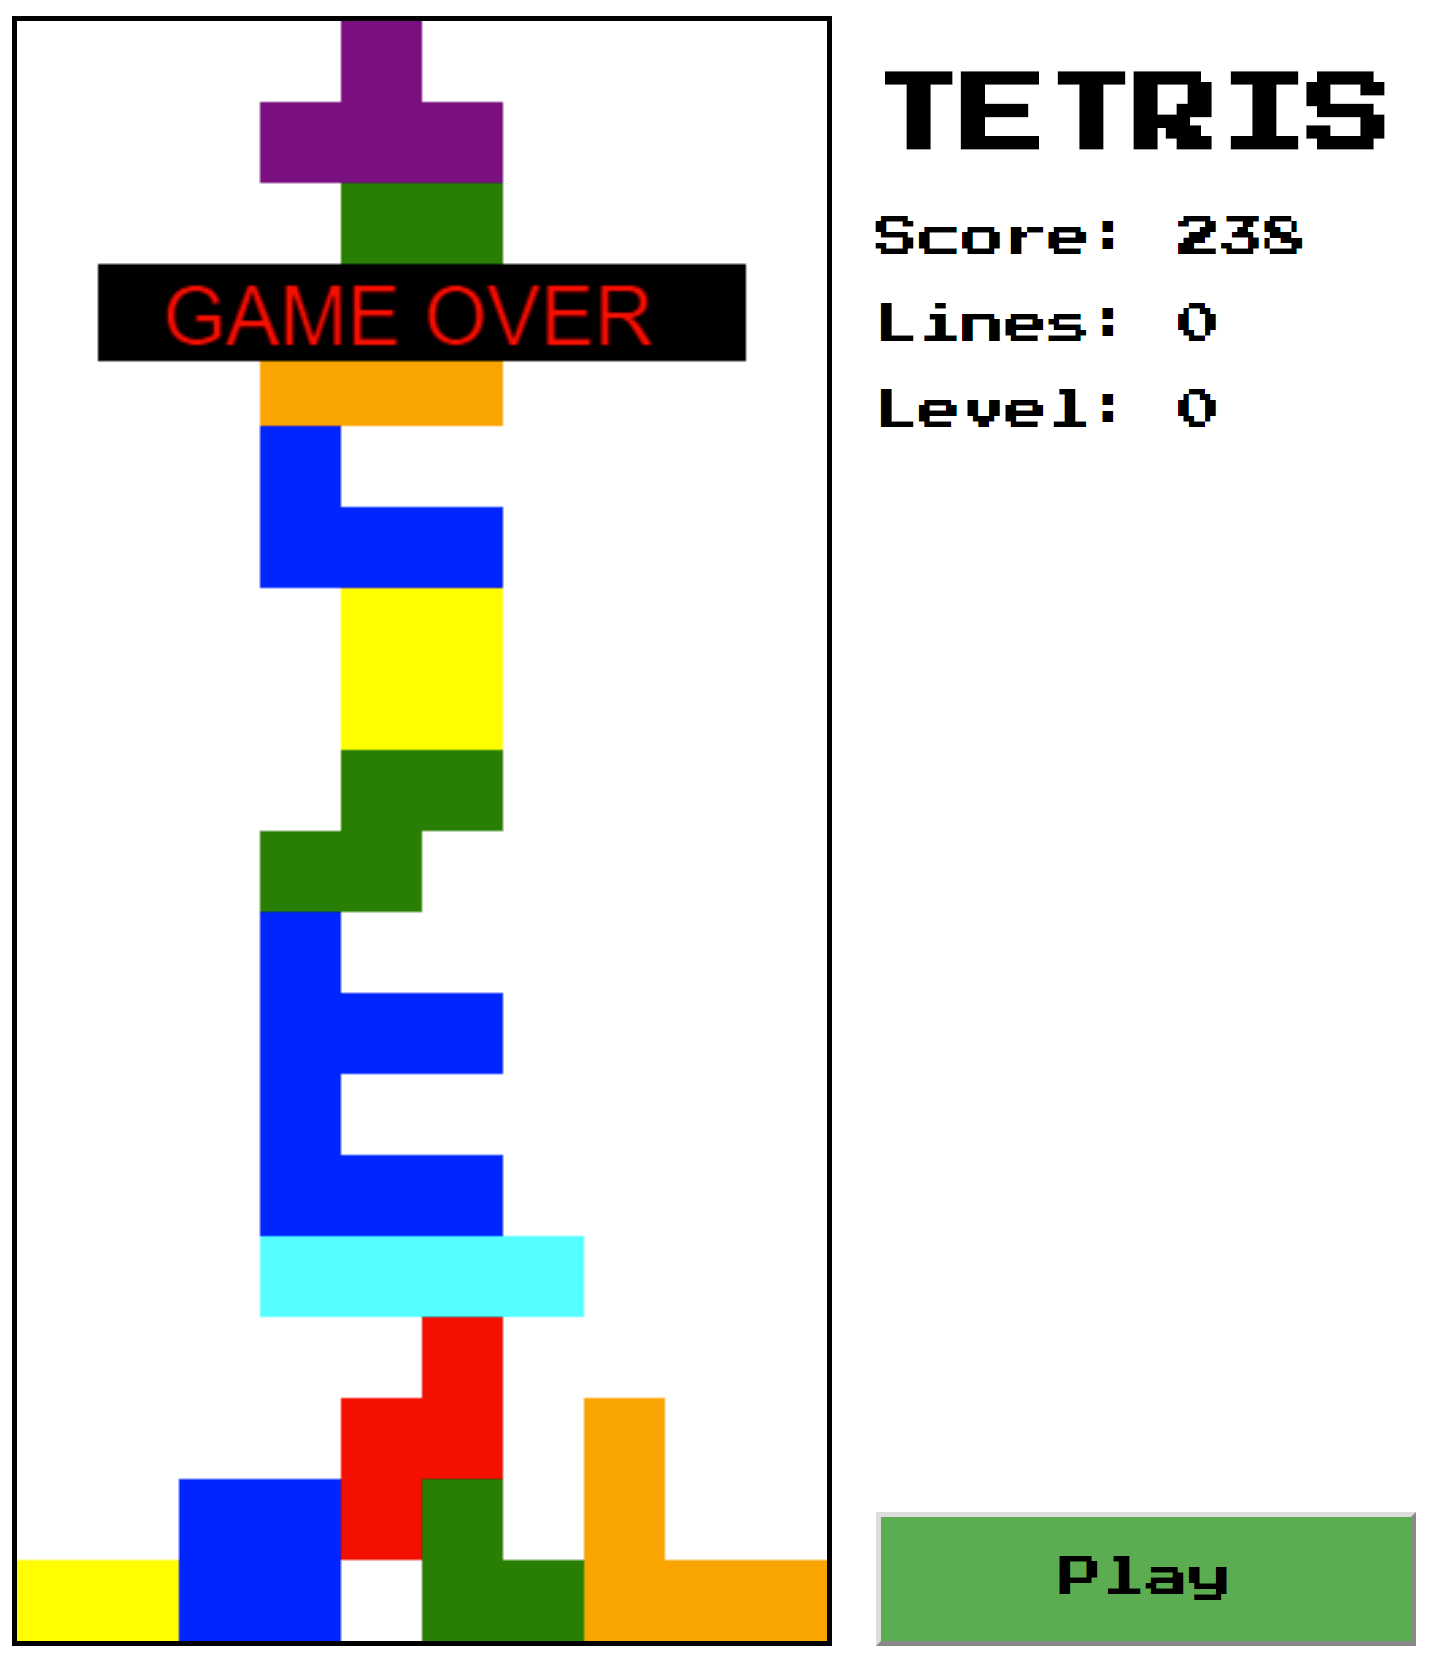
Game Over
If you play for a while, you notice that the game never ends. The tetrominos keep on falling forever. So we need to know when to end the game.
After we drop we can check if we are still on row 0 and in that case, we can stop the game by exiting the game loop function:
if (this.piece.y === 0) {
  this.gameOver();
  return;
}
Before we exit, we call cancelAnimationFrame to stop it. Also, we print a message to the user.
gameOver() {
  cancelAnimationFrame(this.requestId);
  this.ctx.fillStyle = ‘black’;
  this.ctx.fillRect(1, 3, 8, 1.2);
  this.ctx.font = ‘1px Arial’;
  this.ctx.fillStyle = ‘red’;
  this.ctx.fillText(‘GAME OVER’, 1.8, 4);
}
Next tetromino
Let’s add one last thing. The next tetromino. We can add another canvas for this:
<canvas #next class=”next”></canvas>
Next, we do as we did for our first canvas:
@ViewChild('next', { static: true })
canvasNext: ElementRef<HTMLCanvasElement>;

ctxNext: CanvasRenderingContext2D;

initNext() {
  this.ctxNext = this.canvasNext.nativeElement.getContext('2d');

  // Size it for four blocks.
  this.ctxNext.canvas.width = 4 * BLOCK_SIZE;
  this.ctxNext.canvas.height = 4 * BLOCK_SIZE;

  this.ctxNext.scale(BLOCK_SIZE, BLOCK_SIZE);
}

// Create and draw it in play function
play() {
  // ...
  this.next = new Piece(this.ctx);
  this.next.drawNext(this.ctxNext);
  // ...
}
We have to change the logic a bit in the drop function. Instead of creating a new piece we set it to the next and instead create a new next piece:
this.piece = this.next;
this.next = new Piece(this.ctx);
this.next.drawNext(this.ctxNext);
Now we can be a bit more strategic when we see the next piece coming.

Improvements
There are always improvements that to be made to a game. Some that I can think of:
Highscore
Pause
Music and FX
AI
So why not fork the repository and implement them!
Conclusion
Today we made a game! We learned how to represent and track the objects we paint on the screen. We learned to move these objects and to respond to the boundaries of the game. I had a lot of fun with this project, and I recommend it as a way of honing your programming skills.
And now that we have taken our first steps into game development, the only question that remains is: What game is next?
Thanks to Tim Deschryver for reviewing the article and code.