

How to get started with Cypress
Leverage Cypress for End-to-End testing in Angular


In this article, I show how to use Cypress to run end-to-end testing with your front-end. I write multiple tests that simulate user behavior like registering and logging in a user. I explain how Cypress handles network requests and what features Cypress has to help us debug failing tests. And most importantly, I show that end-to-end testing can be fun.
Disclaimer: I clone an Angular project to run the tests, but the article does not contain any code specific to Angular. You can read it to learn Cypress even though you prefer something like React, Vue, Svelte or Vanilla JavaScript.
Testing methods
There is more than one testing method:
Unit testing verifies that units of code work as expected.
Integration testing verifies that different parts of the code work together like an API and the database.
End-to-End (E2E) testing verifies all parts of the system by simulating user behavior. End-to-end describes a process that takes a method or service from its beginning to its end and delivers a complete functional solution.
What is Cypress
Cypress is an open-source JavaScript end-to-end testing framework that sits on top of some bundled tools:
Mocha, a feature-rich JavaScript test framework.
Chai, a BDD/TDD assertion library.
Sinon, test spies, stubs and mocks for JavaScript.
Cypress being a framework with everything included means you can start writing tests right after you have installed it. The only supported language for writing tests is JavaScript. If you’ve ever written front-end unit tests, you will feel right at home.
The Desktop GUI is the Electron application that starts with cypress open.
When you select tests in the GUI, Cypress launches a browser for you. It runs the tests and shows the application on the right during the tests. On the left side is the command log with all the executed commands.
For those of you who know Selenium, the leading browser automation framework for more than a decade, Cypress has no dependencies to it. You can read about the differences here:
While Cypress is open-source, it employs a team actively developing it and has to make money. They do it by offering extra services.
Limitations
Many browsers are not currently supported. You can read about the future cross-browser testing strategy here. Right now, only Chrome* variants such as Chrome, Chromium, and Canary are supported.
The Example App
For the Cypress tests, I wanted to test against a solution with authentication. Before I started building my own solution, I did what any good developer does.
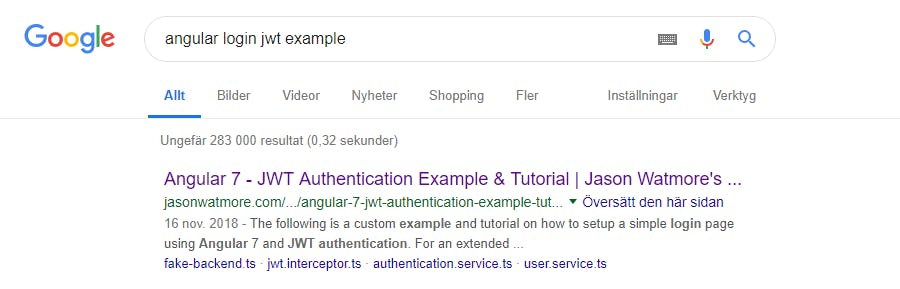
What do you know!? I found the perfect solution. Even better, there was an excellent blog to go with it written by Jason Watmore.
Check it out if you want some explanations of the source code. Next, I forked the solution, installed it and started the application.
npm i
npm start
It’s working!
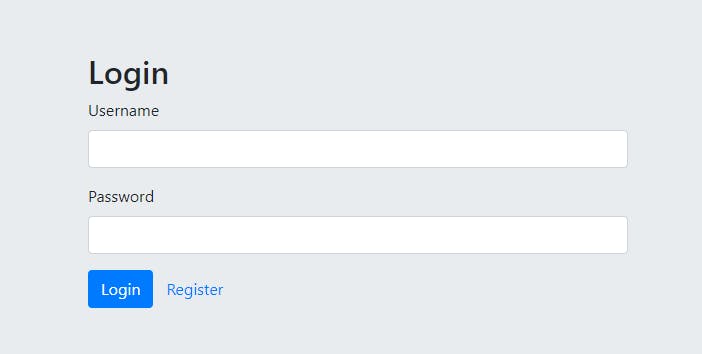
The application is a login page where we can register a user. A valid user can log in and see a welcome page. It’s also possible to delete users.
Setup
OK, let’s get started and add Cypress to the project as a devDependency.
npm i cypress -D
To run Cypress, we can use npx that is included with npm > 5.2.
npx cypress open
This command opens the Cypress Test Runner.
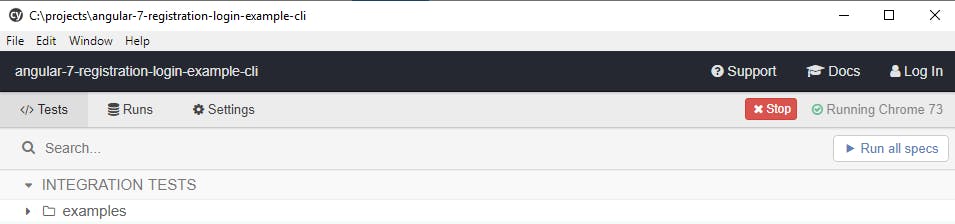
Cypress comes with many example tests you can check out to further explore what is possible.
To run tests the application needs to be running.
Since your application has to run while Cypress is testing it, I use a package called Concurrently to run two commands in parallel.
npm i concurrently -D
In this case, I want to start my application and Cypress at the same time, so I add a new script to package.json.
"cypress": "concurrently \"ng serve\" \"cypress open\""
Now instead of opening two terminals, we can just run:
npm run cypress
Folders
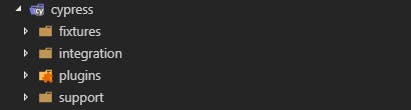
When you add a new project and run Cypress the first time, it scaffolds a suggested folder structure:
Fixtures are external pieces of static data that can be used by your tests. You would typically use them with the
[cy.fixture()](docs.cypress.io/api/commands/fixture.html) command and most often when you’re stubbing Network Requests.Test files are located in
cypress/integrationby default. To see an example of every command used in Cypress, open the example folder within your integration folder.Plugin files enable you to tap into, modify, or extend the internal behavior of Cypress. By default Cypress includes the plugins file
cypress/plugins/index.jsbefore every single spec file it runs.Support files are a great place to put reusable behavior such as Custom Commands or global overrides that you want to be applied and available to all of your spec files.
First test
The first step in a Cypress test is to visit a page of the app in a browser.
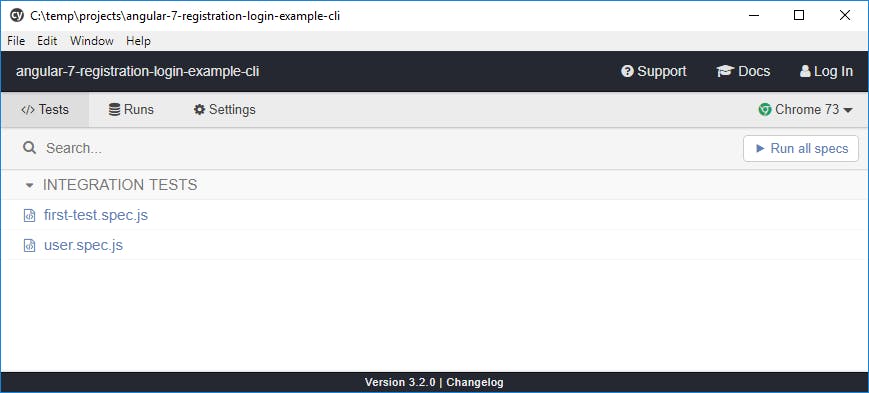
Create the file first-test.spec.js in the integration folder. We should see the Cypress Test Runner display it in the list of Integration Tests.

Let’s add a first test that visits the login page. The entire Cypress API is available under the global cy object. This way it is easier to find commands when you don’t have to remember which object holds which commands. We can use cy.visit(url) to visit a URL.
describe("First test", () => {
  it("should visit login page", () => {
    cy.visit("http://localhost:4200/login");
  });
});
Cypress has adopted Mocha’s BDD syntax, which provides a way to keep tests organized and easier to read. Here we use describe() and it().
To run a test click the file and a browser window opens.
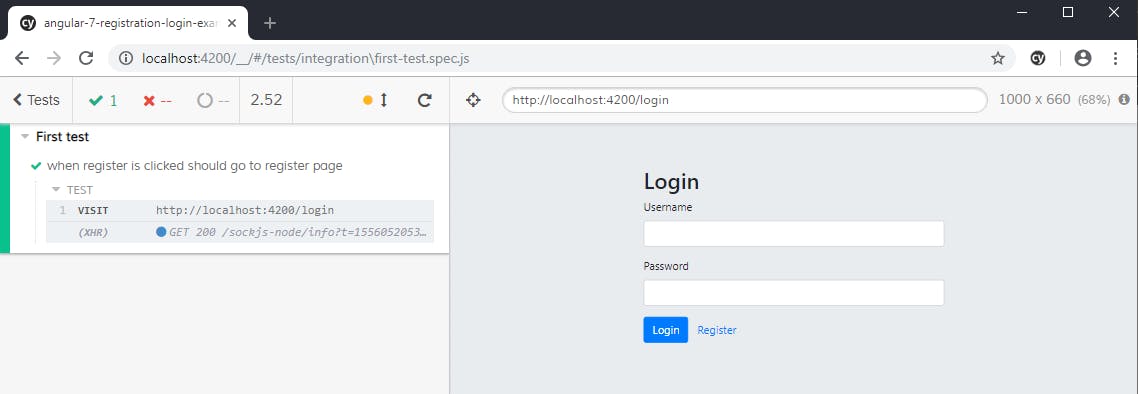
We can see that the login page is loaded as we wanted.
Config
When Cypress is run the first time in a project, it creates the cypress.json file. This file is used to store any configuration values you supply.
Modify the default behavior of Cypress by supplying any of the configuration options. I want to do this so let’s change baseUrl to our application address localhost:4200. When we run cy.visit(url) Cypress prefixes the URL we send in with the baseUrl.
// cypress.json
{
  "baseUrl": "http://localhost:4200"
}
Without
baseUrlset, Cypress loads the main window inlocalhost+ random port.
Now we can change the test to use a relative URL from the baseUrl:
describe("First test", () => {
  it("should visit login page", () => {
    cy.visit("/login");
  });
});
Next, we want to click the register button and make sure that we get redirected to the correct page. For selecting an element, we can use the get command. One way to get something is to select it by its id. But, we can also select by other means. Cypress helps us here, and we don’t even need to look at our code. We can open the Selector Playground by pressing the cross-hairs icon in the upper left corner of the browser windows.
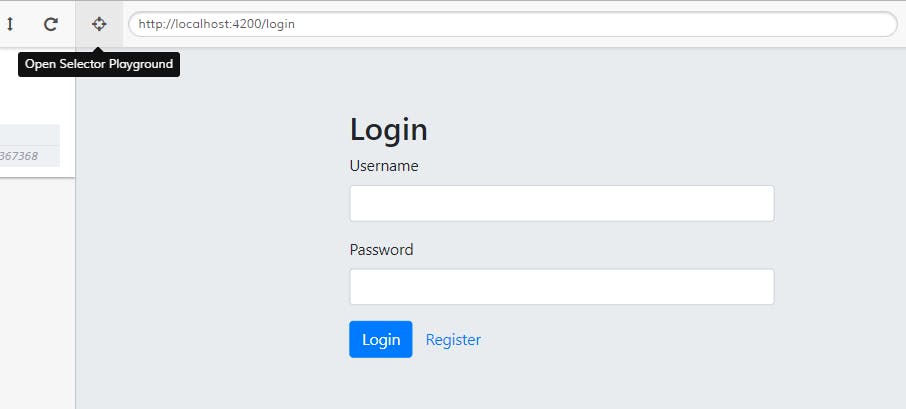
Now we can see what to get by hovering over the components. When we click the component, we see the code needed in the top bar. The blue icon with the one means that there was only one match for this element. If there is more than one, we need to specify better. It is always a good idea to add an id to the elements we want to select to make sure they are unique.
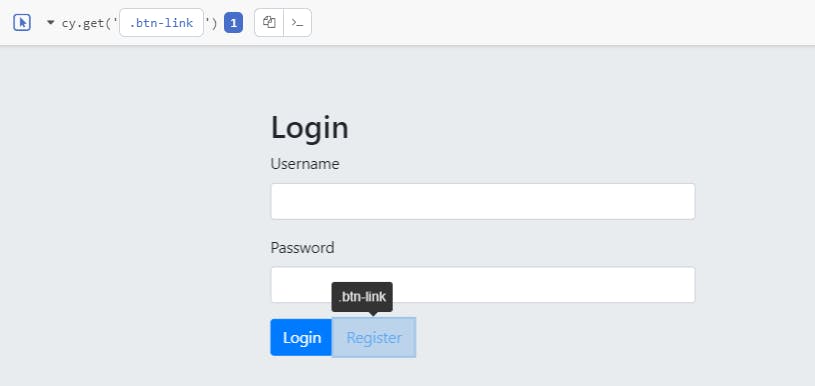
Now we can copy the code to the clipboard by clicking the icon next to the one. I have to say I’m a bit speechless of how great a user experience Cypress has made here. Now that we have the button we can click it.
cy.get('.btn-link').click();
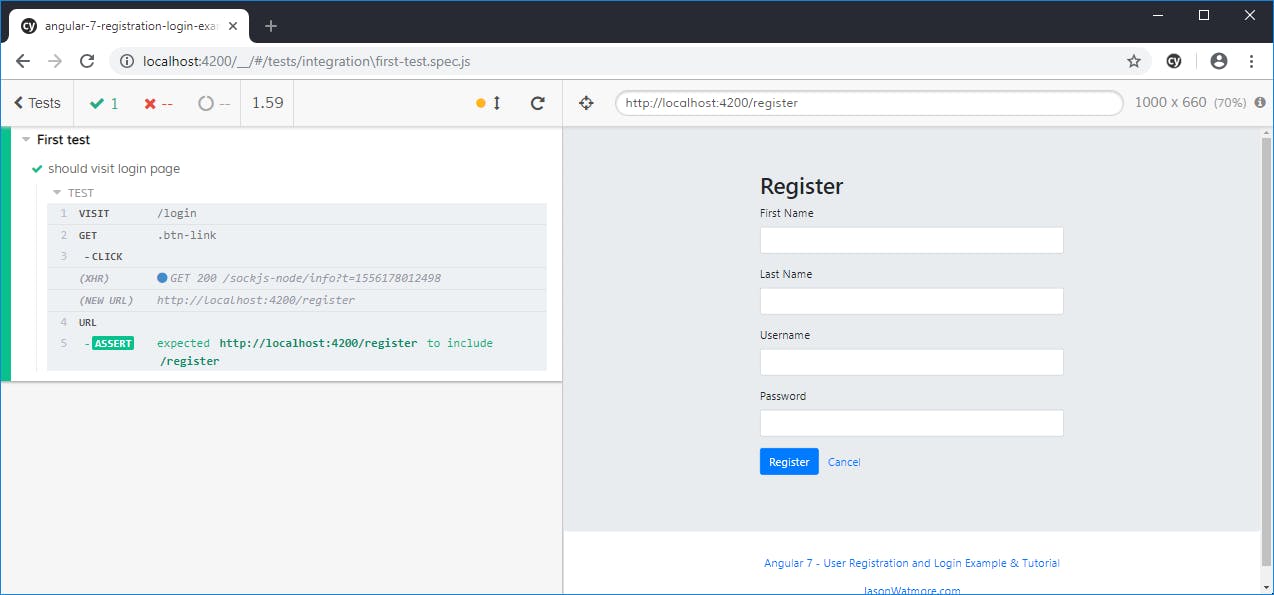
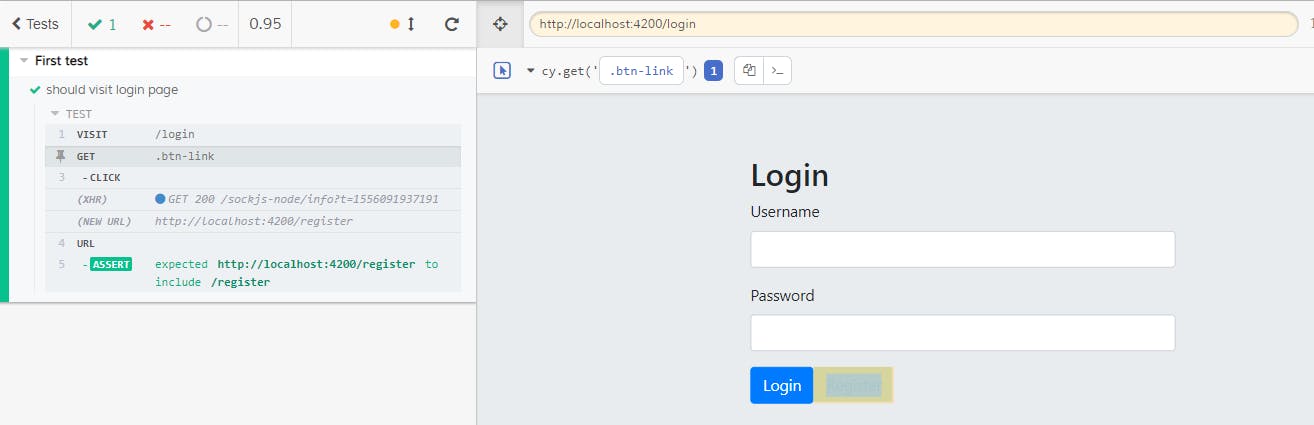
As soon as we save the file with the new line, Cypress re-runs the test, and we should see that the page changes to the register page.
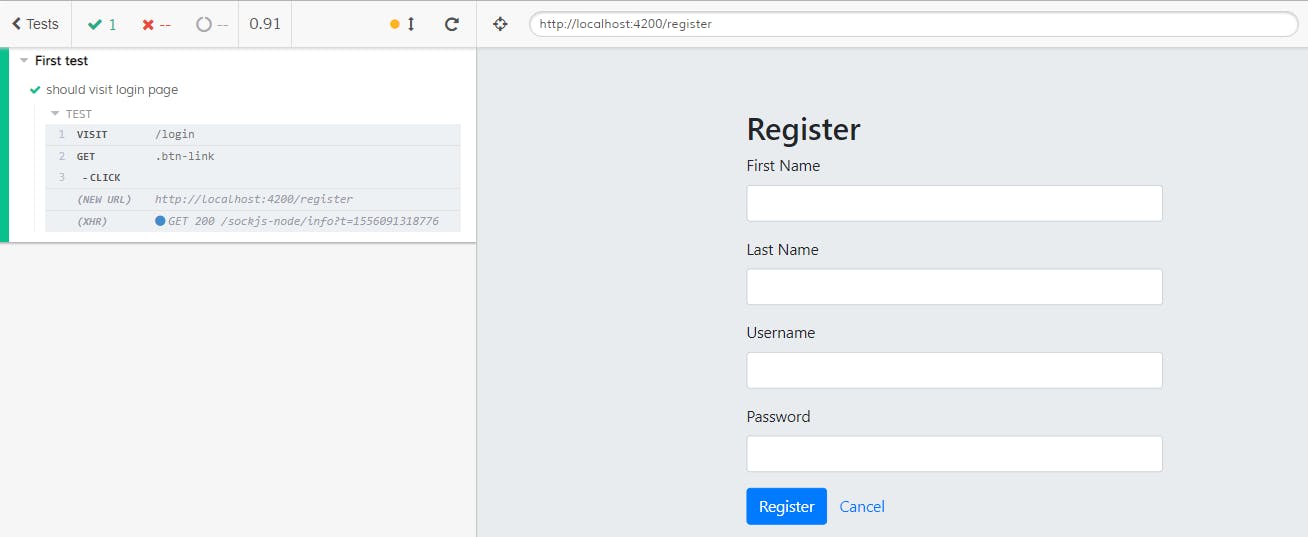
Let’s add an assert to our code to check that the URL is correct.
cy.url().should('include', '/register')
Now we can see an assert added in the test runner as well.

With this, we conclude our first test in Cypress. I hope you enjoyed it.
Let’s see what more Cypress can do.
Like this blog post? Share it on Twitter! 🐦
Register User
Let’s add a new test file user.spec.js with a first test that registers the user. The starting point is the register page.
describe("User", () => {
  it("should register user", () => {
    cy.visit("/register");
  });
});
Using the selector playground I noticed that the inputs don’t have ids so I’ll add them in register.component.html. Now we can get the inputs by id and use type to insert text into the DOM elements.
cy.get('#firstName').type('Michael');
cy.get('#lastName').type('K');
cy.get('#username').type('mk');
cy.get('#password').type('qwerty');
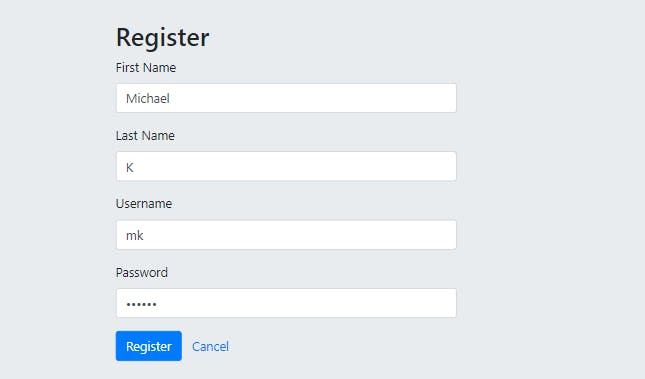
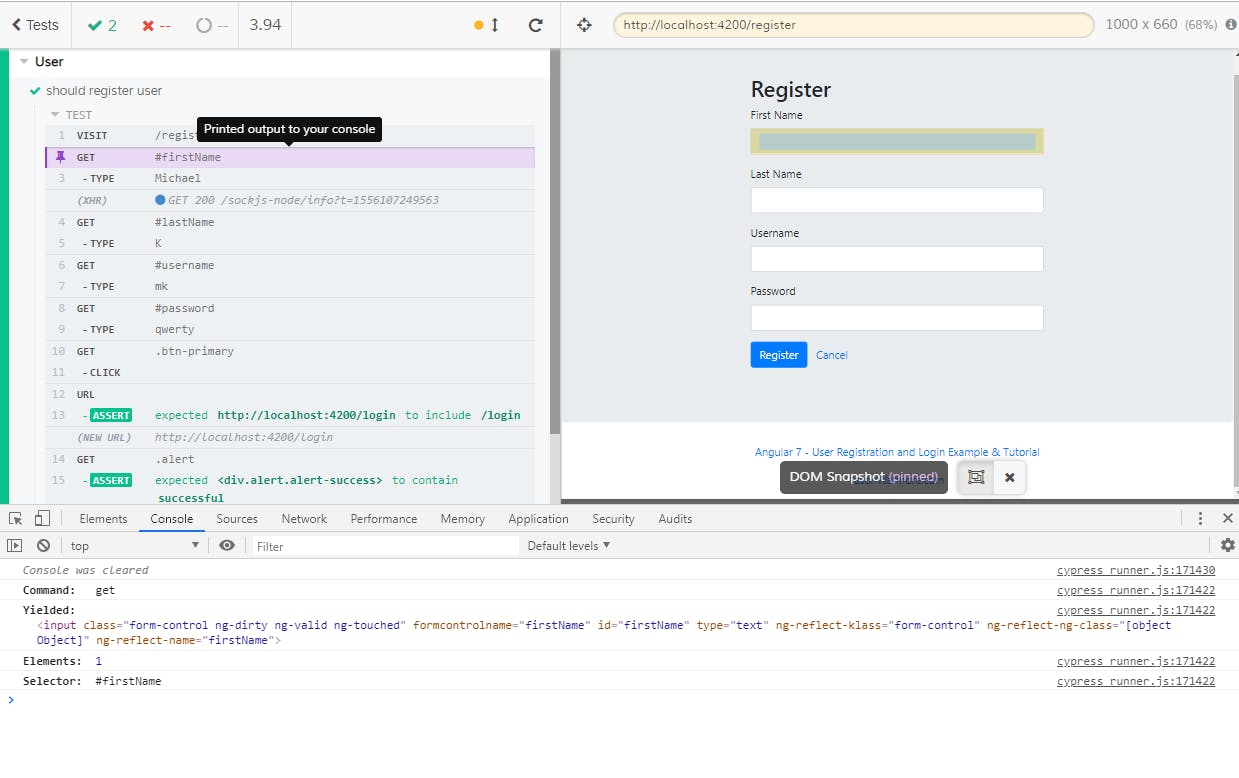
Now we want to click the Register button to register the user.
cy.get('.btn-primary').click();
In a normal form we can also submit by pressing Enter. This can be simulated by adding {enter} after the password has been typed.
cy.get('#password').type('qwerty{enter}');
Both ways work and we can see that the registration was successful.
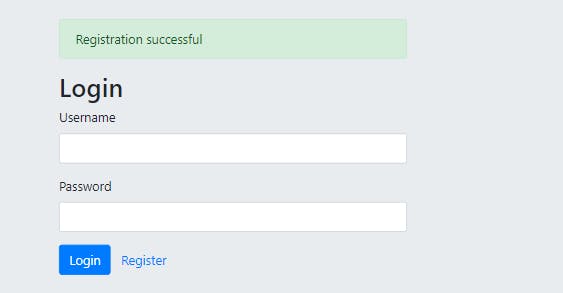
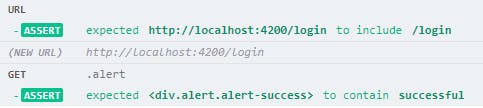
Let’s add the assertions. We want to make sure that we are back on the login page and that we can see the success notification.
cy.url().should('include', '/login');
cy.get('.alert').should('contain', 'successful');
Test User
When it comes to testing, you might need to have a user that can log in to the system and run tests. Add the username and password to cypress.json.
{
  "baseUrl": "http://localhost:4200",
  "username": "mk",
  "password": "qwerty"
}
We can fetch a specific configuration by
Cypress.config('username').
Let’s change the test to read from the configuration:
cy.get('#username').type(Cypress.config('username'));
cy.get('#password').type(Cypress.config('password'));
User Fixture
I want to test the login logic. For this, I need a user. We can’t register a user before every test. Looking at the code in fake-backend.ts I see that we get the users from localStorage.
localStorage.getItem('users')
So, what we can do before every test is to add our test user to localStorage. We can do this by first adding the user to a new file users.json in fixtures. We find the structure for the user in _models/user.ts.
To try out some debugging, we can run the register test and open the developer tools. If we go in Application -> Storage -> Local Storage we can see that we have a user list under the key users.
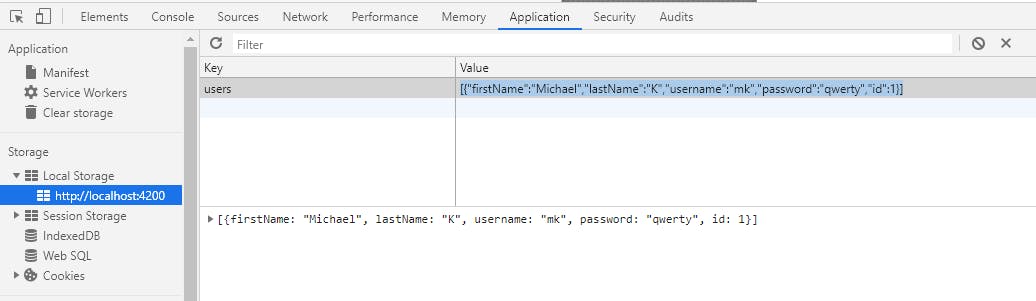
We can copy this to the user fixture.
// users.json
[{
  "firstName":"Michael",
  "lastName":"K",
  "username":"mk",
  "password":"qwerty",
  "id":1
}]
We can access this with cy.fixture('users'). Cypress looks for certain file types so we can omit it. To access what each Cypress command yields you use [.then()](docs.cypress.io/api/commands/then.html). If you are familiar with Promises, this works the same way.
cy.fixture('users').then((users) => {
  localStorage.setItem(
    'users',
    JSON.stringify(users)
  );
});
JSON.stringify() converts a JavaScript object to a string representation, which is the opposite of what JSON.parse() does.
Login Test
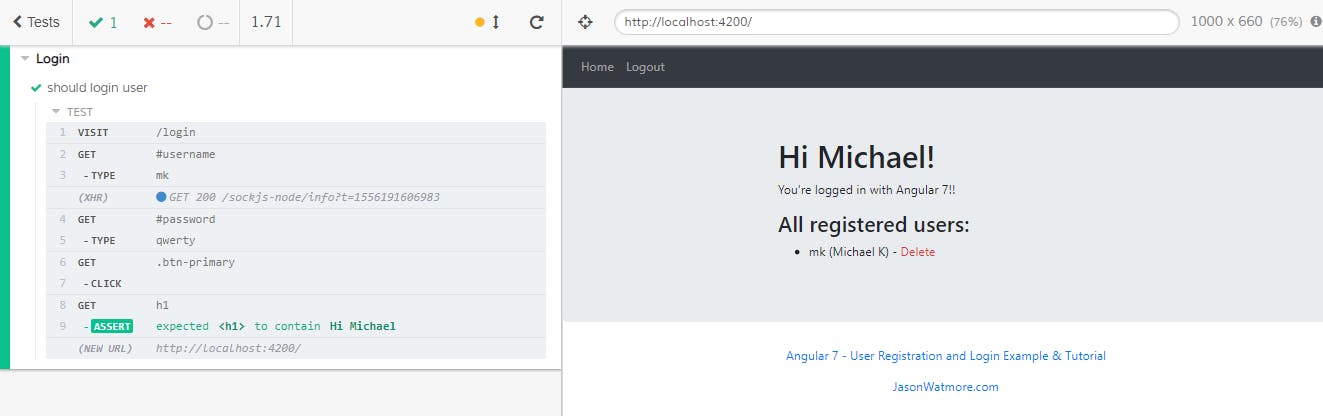
Now we can use what we have learned and apply it together in a test to login:
describe("Login", () => {
  beforeEach(() => {
    cy.fixture('users').then((users) => {
      localStorage.setItem('users', JSON.stringify(users));
    });
  });

  it("should login user", () => {
    cy.visit("/login");
    cy.get('#username').type(Cypress.config('username'));
    cy.get('#password').type(Cypress.config('password'));
    cy.get('.btn-primary').click();

    cy.get('h1').should('contain', 'Hi Michael');
  });
});
Network Requests
With Cypress, you can choose whether to stub responses or allow them to hit your server. By not stubbing your responses, you are writing true end-to-end tests. It is a good idea to have end-to-end tests around your application’s critical paths like user login and signup.
When a response is not stubbed, it means your server has to send real responses. You may have to seed a database before every test to generate state. Since actual responses go through all layers of your server, the tests are often slower than stubbed responses.
To work with network requests we need:
cy.server() to start a server and begin routing responses to cy.route().
cy.route() to manage the behavior of network requests.
as() to assign an alias to the route.
cy.wait() to wait for the aliased resource to resolve before moving on to the next command.
Under the hood, Cypress uses minimatch to match glob patterns of the URL. This means you can take advantage of
*and**glob support, which makes it easier to route against dynamic segments.
describe('Login Page', () => {
  beforeEach(() => {
    // Start server to listen to routes.
    cy.server();

    // The ** wildcard character sequence matches a partial path.
    // We listen for POSTs where the URL ends with /authenticate.
    // Alias the route with 'as()' to find it later.
    cy.route('POST', **/authenticate').as('authenticate');
  });

  it('user can log in', function () {

    cy.visit("/login");
    cy.get('#username').type(Cypress.config('username'));
    cy.get('#password').type(Cypress.config('password'));

    // When we submit the form an async XHR call is made.
    cy.get('.btn-primary').click();

    // We wait until the call with the alias authenticate is resolved.
    cy.wait('@authenticate');

    // If we don't wait the assertion is false.
    cy.get('h1').should('contain', 'Hi Michael');
  });
});
Cypress only currently supports intercepting XMLHttpRequests.
If we want to use values that are returned from the server then we can use wait().then().
cy.wait('@authenticate').then((response) => {
   localStorage.setItem('token', response.body);
});
It is also possible to wait for a number of milliseconds with cy.wait(1000). You can use this if your tests are running too fast. 😉
Custom Commands
We are now able to test logging into our system. But, to test something else we would need to be logged in. We do not always want to log in first, but this should happen in the background. Since we are going to do this in every test file, we should abstract it away.
We need to simulate a real login before the tests that require being logged in. Since our session logic checks our localStorage for the token, we need to store it there. So what we need to do is:
Call our authentication API that returns a token.
Store the token in localStorage.
Run our tests.
Remove the token from localStorage.
To move this logic from our test files, we can add a custom command called login in the support folder.
Cypress comes with an API for creating custom commands and overwriting existing commands.
Cypress.Commands.add(name, callbackFn)
Cypress.Commands.overwrite(name, callbackFn)
We can create a custom command for our login that we need before we run the tests. We write these commands in the support folder.
To not log the password send in the option
{log: false}.
Cypress.Commands.add('login', () => {
  cy.request({
    method: 'POST',
    url: 'loginUrl',
    body: {
      username: Cypress.config('username'),
      password: Cypress.config('password')
    }
  }).then((response) => {
    localStorage.setItem('token', response.body);
  });
});
And we can create another command for cleaning up the session.
Cypress.Commands.add('clearSession', () => {
  localStorage.removeItem('token');
});
Now we can use the custom command to login before testing pages that require authentication by running it first.
before(() => {
  cy.login();
});
Headless Cypress
To run Cypress in a headless mode, you change to the run command. You see all the test results in the terminal. Videos and screenshots are saved if you need them later for debugging.
npx cypress run
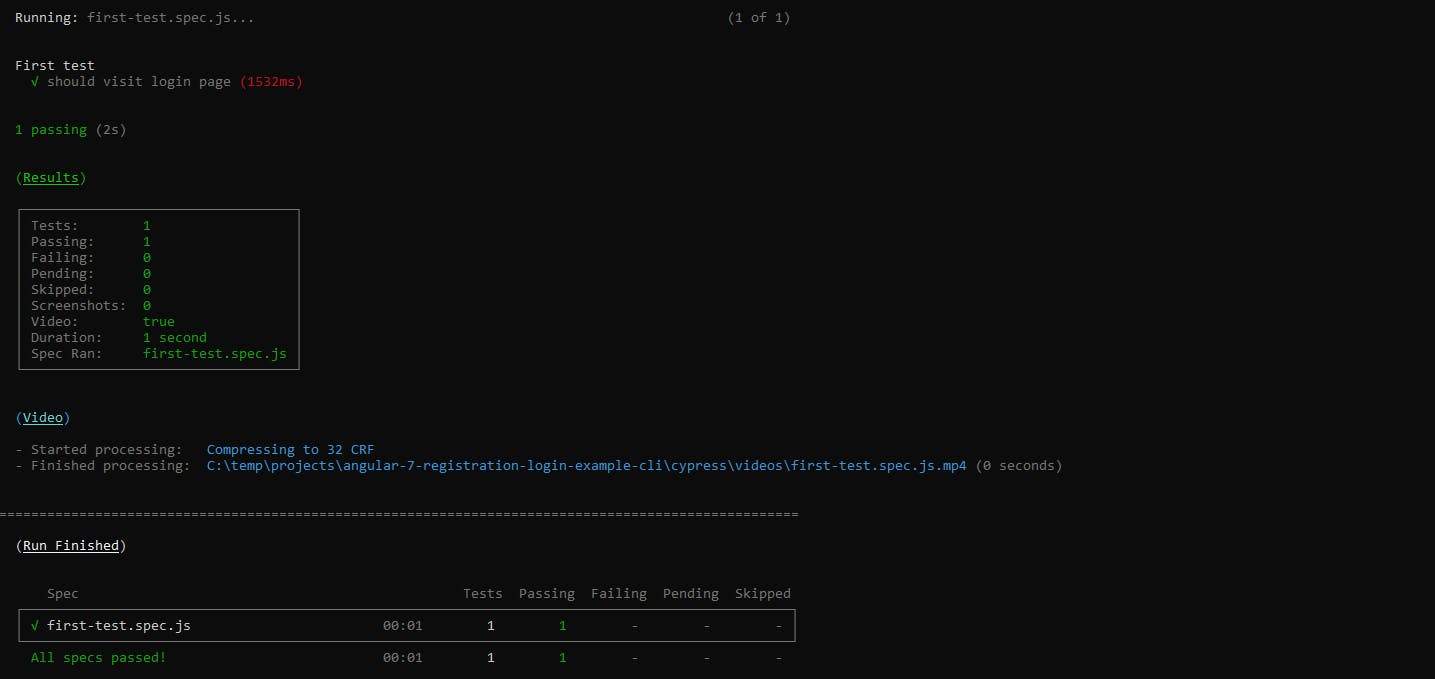
Headless browsers work in an automated process like Continuous Integration (CI).
Debugging
The dashboard that shows us what is happening during our tests helps when our tests fail. Cypress has, however, other great debugging possibilities as well.
Time travel
When we hover the pointer on the left side, the browser on the right shows how it looked at that moment of the test. Here we see how it selects the button when I hover on the row where it gets the button.
Console log
Since Cypress runs in its own browser, we can start Chrome DevTools with F12. We can click the different states of the test and see the DOM elements or XHR requests in the console.
Conclusion
With a tool like Cypress, test automation becomes more straightforward and fun. If you have written tests in JavaScript, then Cypress is already familiar. But be warned, when you get those first tests running, you risk being hooked on end-to-end testing forever.
The web has evolved. Finally, testing has too.
 Bald Cypress
Thanks Lars Gyrup Brink Nielsen for the excellent feedback and Todd Palmer for keeping my trees and words in order! 🌲 🌳
Call to Action
I always enjoy feedback so please 👏, 📝 and tweet 🐦. Follow me on Twitter and Medium for blog updates.